Skip to content
Home
Gallery
3D Renderings
Design Process
Services
About
Contact
Blog
Free Consultation
Menu
Home
Gallery
3D Renderings
Design Process
Services
About
Contact
Blog
Free Consultation
Blog Posts
The Best Interior Designer in New Braunfels? It’s the One Who Gets You
From Mood Board to Masterpiece
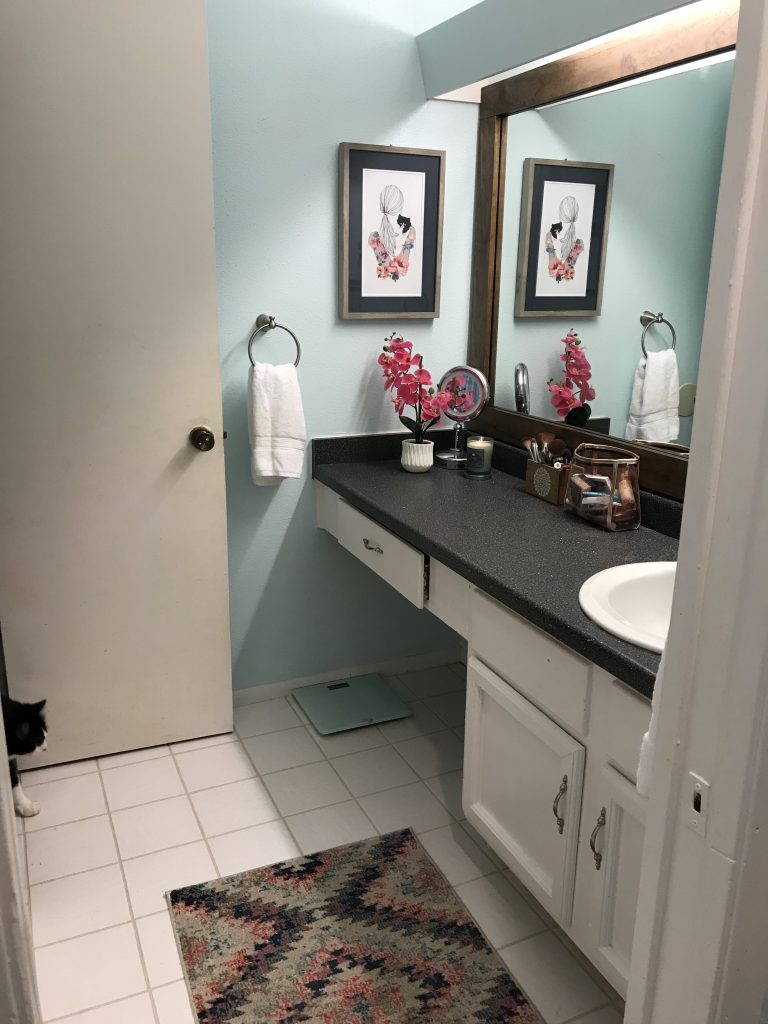
Boho Bathroom Makeover!
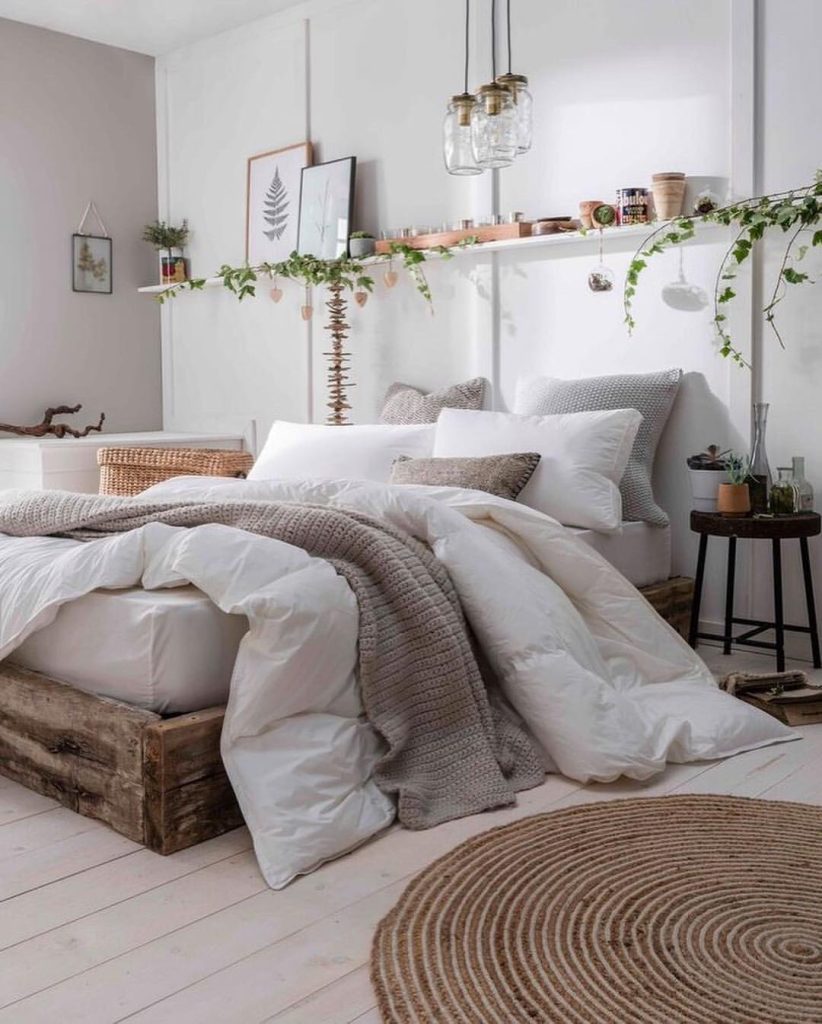
How to Pick a Duvet and Duvet Cover
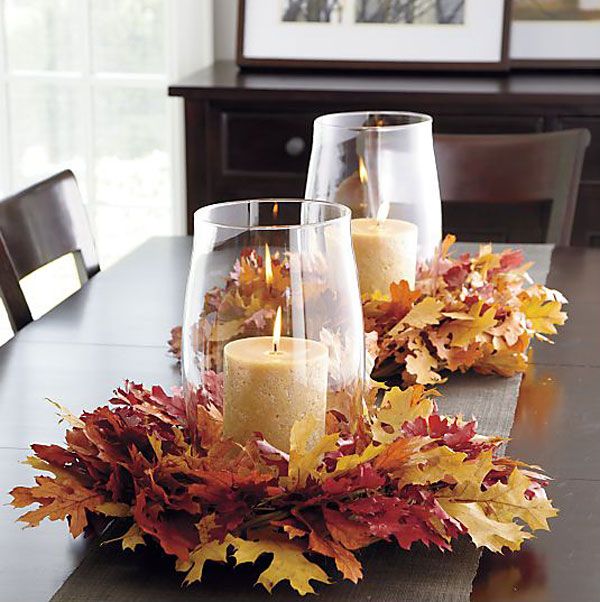
DIY Fall Decorations using Nature
How do you know you need an Interior Designer?
Don’t Underestimate Beauty
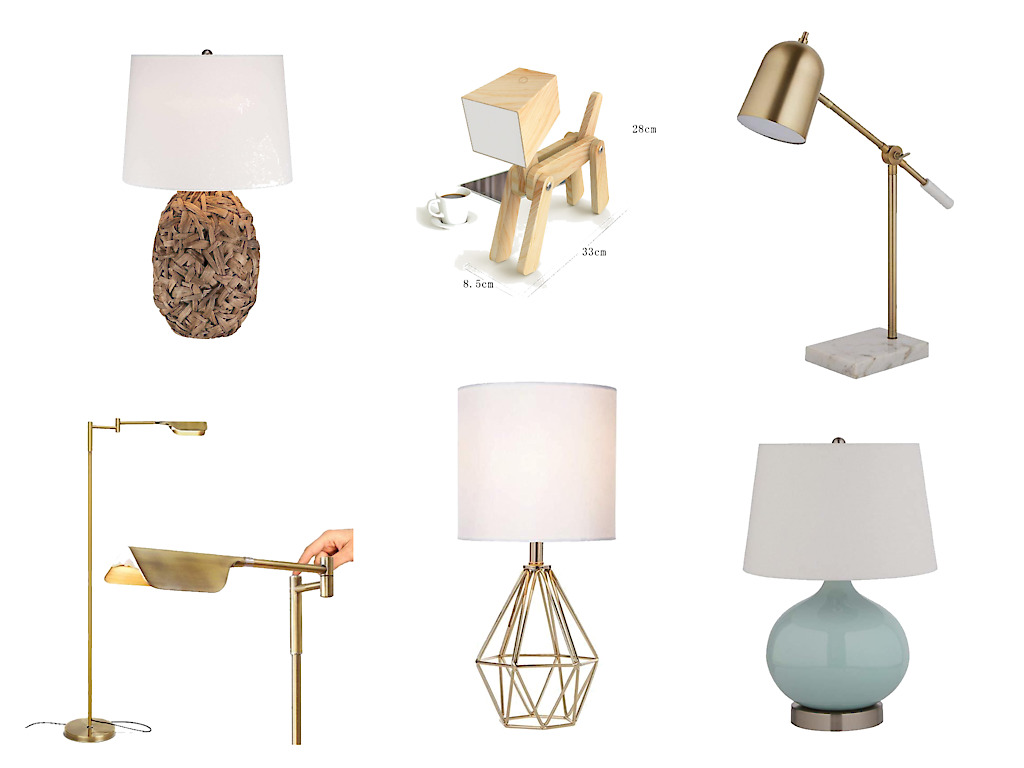
Beautiful Lamps on Amazon
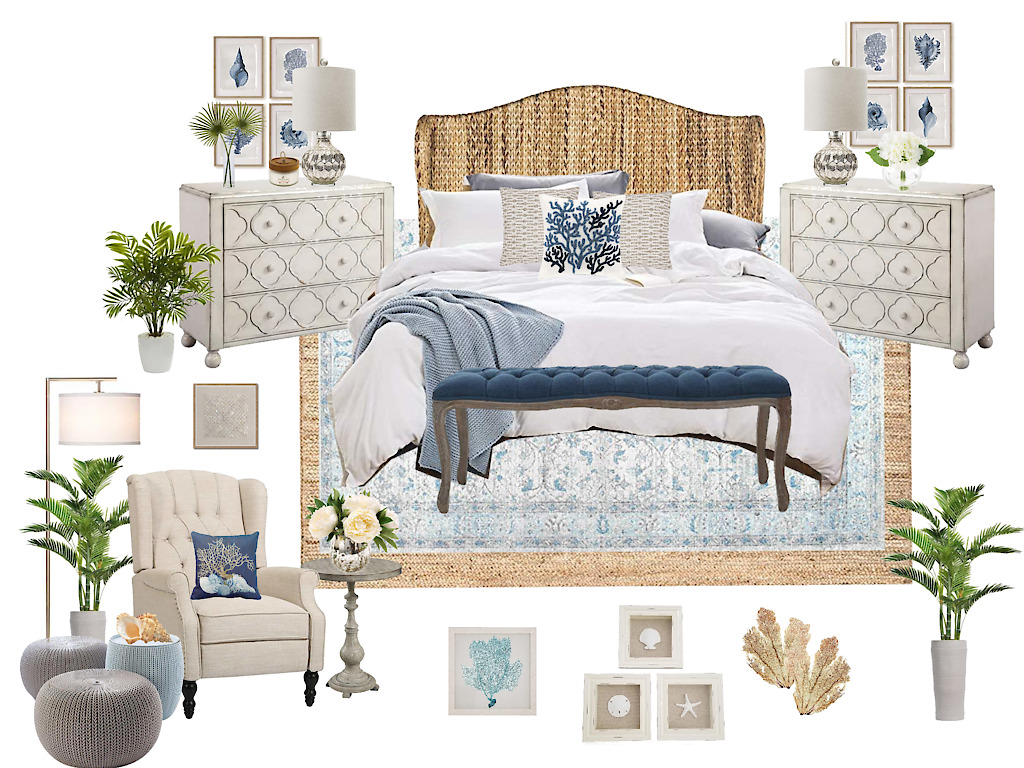
Beautiful Beach Bedroom from Amazon
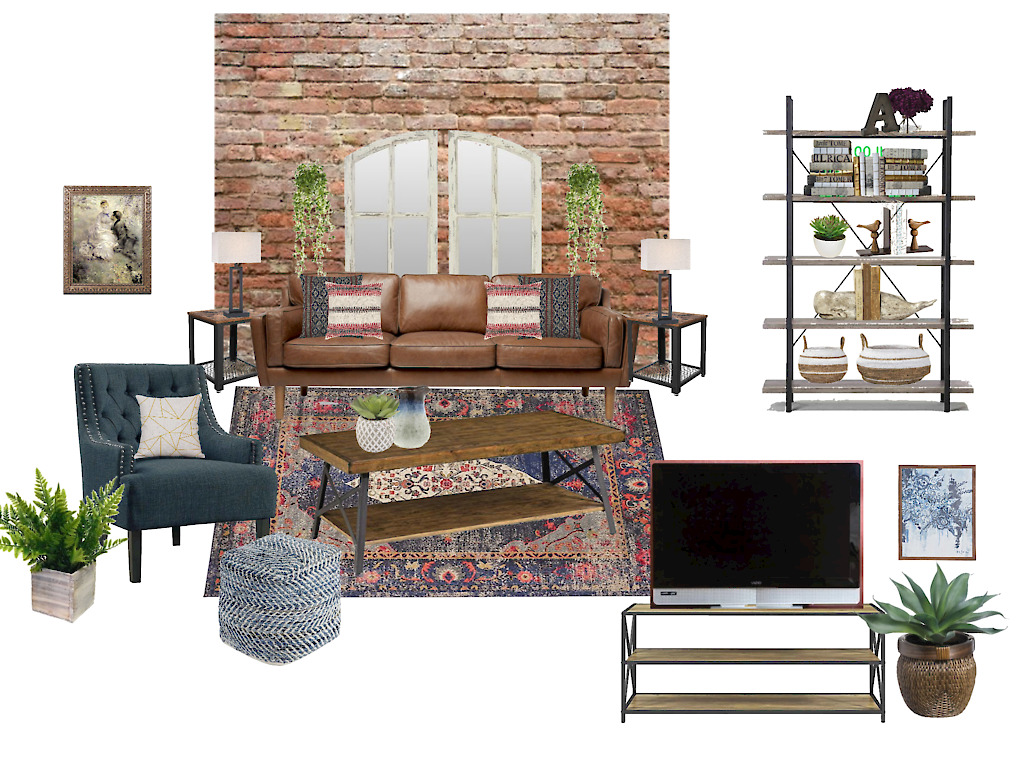
Boho Living Room Design Board
Page
1
Page
2
Search
Search
Archives
June 2025
December 2019
November 2019
October 2019
August 2019
June 2019
May 2019
April 2019